Illustrated nature study
 Joi AI SI
Joi AI SI
An ai image generator turns a written visual brief into a detailed still you can review, compare, and refine. The VideoAny text-to-image workbench lets you describe a subject, set the scene, choose an aspect ratio, and submit the task using account credits. Seedream 5 Pro is the selected model for this page, and every generation starts from your description of the subject, lighting, and composition. Completed tasks appear in your generation history for preview and download, so you can inspect framing, subject detail, and visual consistency before committing to a final still.
Before you describe a scene, confirm the model, aspect ratio, and resolution settings in the workbench. These controls shape how the ai image generator interprets your written brief, so a quick check keeps the output aligned with your intended format.
01
Pick a model from the current workbench list before you type a prompt. Seedream 5 Pro is the selected image model for this page, and the text-to-image workflow starts from a written description of the subject, scene, lighting, and composition. An ai image generator reads your words as production notes, so confirm the model first to match the visual style you need. Submitting a generation task requires an authenticated account, and the task cost is shown in the workbench before submission. Once you choose the model, every subsequent decision about framing and detail builds on that foundation.
02
Set the aspect ratio to match the destination where the still will appear, whether that is a campaign board, a social frame, or a presentation slide. An ai image generator crops and arranges the composition around the ratio you select, so changing it later can shift the focal point. The VideoAny workbench displays ratio options next to the prompt field, and you can compare how a wide cinematic frame differs from a square product hero shot. Lock this control early, then write a brief that uses the full width or height intentionally.
03
Use the resolution control only when the selected model shows it as an available option. Not every model in the ai image generator workbench exposes a resolution toggle, and forcing an unsupported setting can produce unexpected cropping or detail loss. When Seedream 5 Pro displays a resolution choice, pick the value that matches your output needs, then read the credit cost line before you submit. Generation uses account credits, and the task cost updates as you adjust controls, so you always know the investment before the run begins.
The core task of an ai image generator is turning words into a still you can evaluate. These features show how to move from a loose concept to a concrete image by describing the subject, light, and finish in plain language.
01
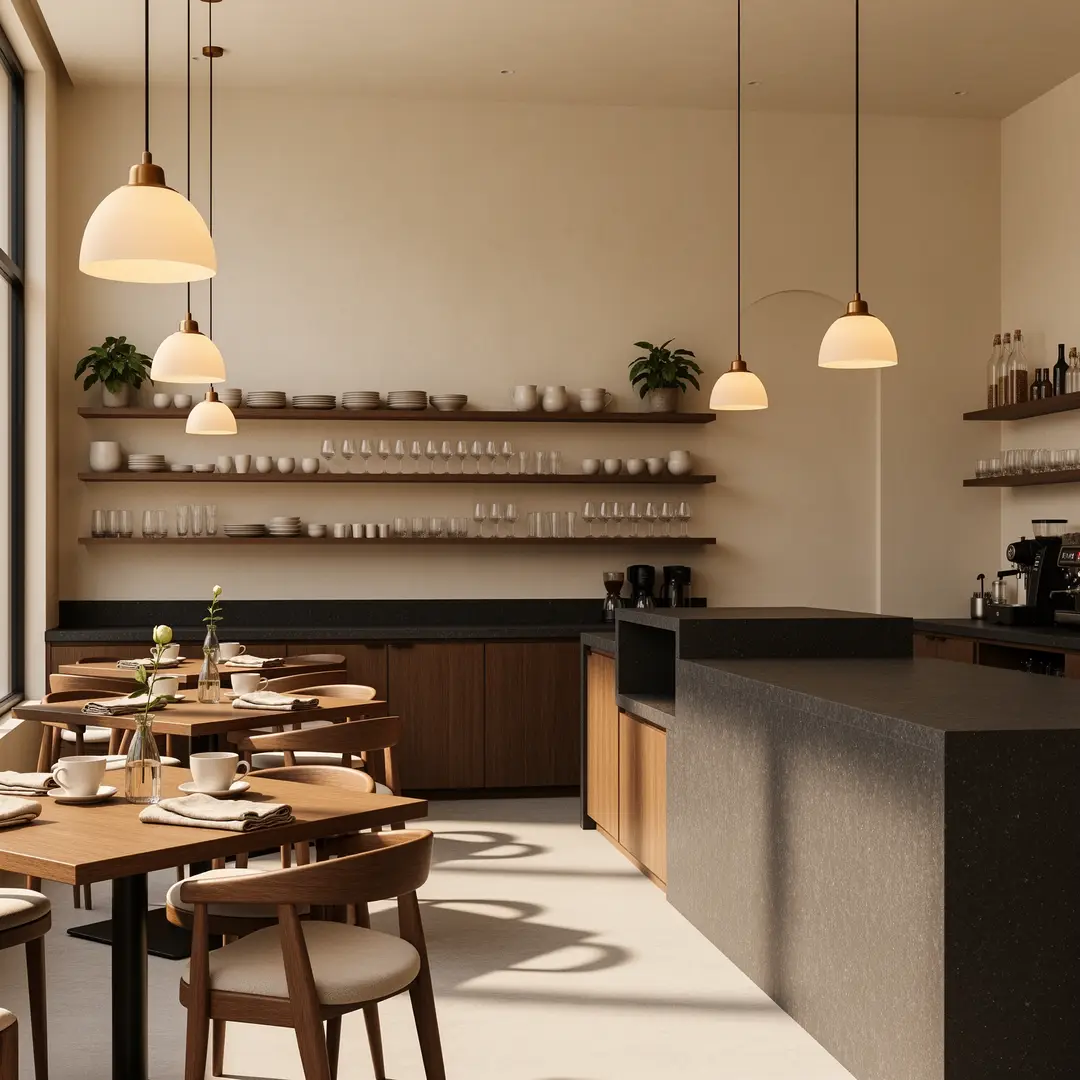
Translate a verbal idea into a visual brief by naming the subject, setting, and key materials first. For a warm boutique cafe interior with wood tables and large windows, you might write the table finish, the pendant light shape, and the quality of daylight through the glass. An ai image generator responds to concrete nouns and spatial relationships, so avoid vague mood words without a physical anchor. Reference images and clips on this page are existing site examples, not proof of outputs from the selected model, but they illustrate the level of detail that helps the workbench produce a readable still.
Sunlit boutique cafe interior, walnut tables, bentwood chairs, brass pendant lights, large street-facing windows, a single espresso cup on the nearest table, wide establishing shot, warm late-morning light, photorealistic architectural still, no people, no logos.Open the text-to-image workbench and type your first visual brief.
02
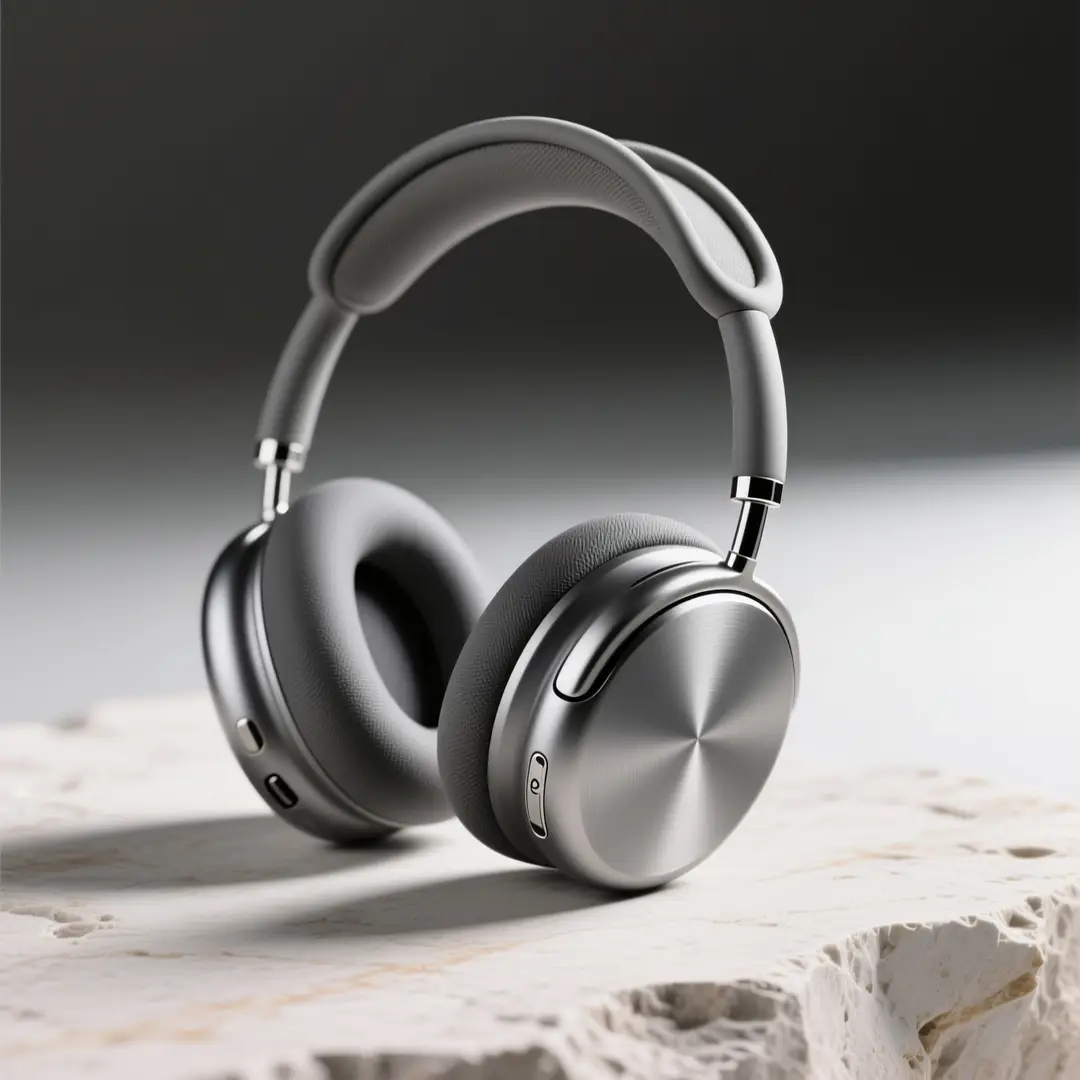
Lock composition, light, and finish in your prompt before you submit the task. For a still of silver over-ear headphones on pale stone against a dark studio background, decide where the product sits in the frame, whether the light is soft or directional, and what surface texture anchors the shot. An ai image generator distributes detail across the whole image, so an unfocused brief can leave the background competing with the subject. Write three short sentences that cover subject placement, key light direction, and the dominant material, then review the credit cost and submit.
Studio product still of silver over-ear headphones on pale limestone, dark seamless backdrop, three-quarter view, crisp rim light on the headband, soft fill on the ear cups, catalog photography, no extra props, no readable brand marks.Open the text-to-image workbench and type your first visual brief.
03
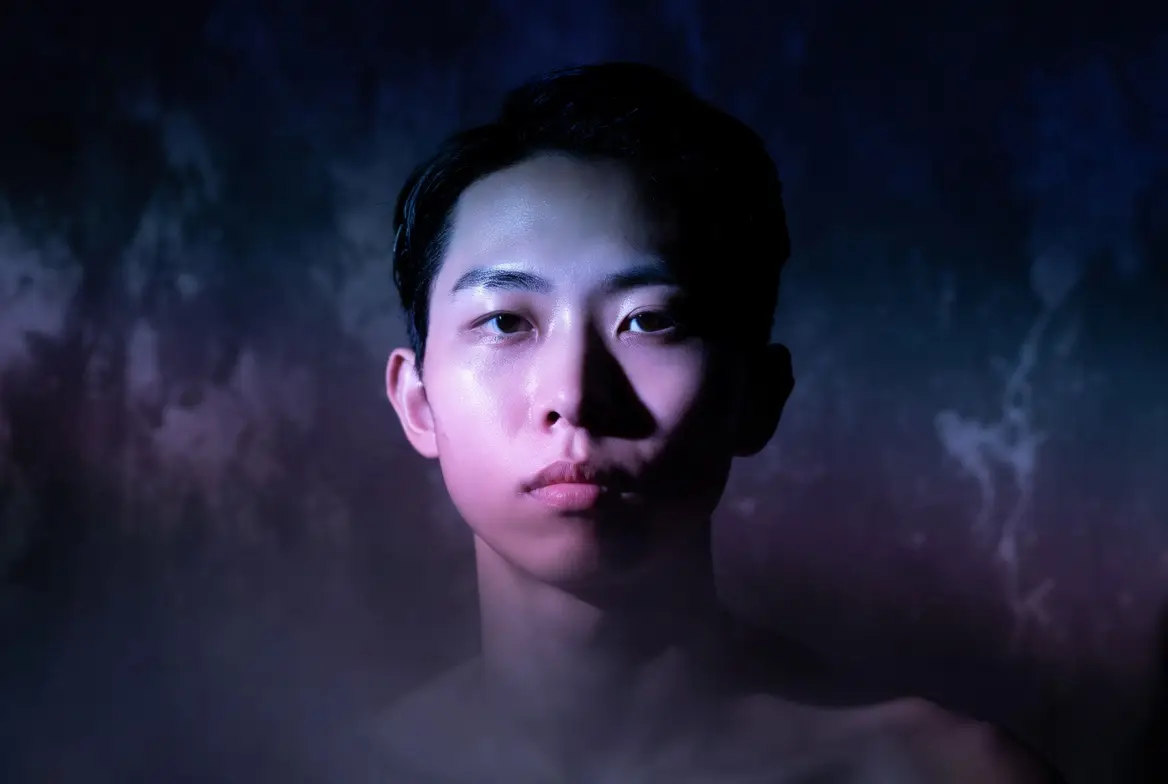
Generate concept drafts you can compare side by side by running a few variations with one changed clause. For a moody adult portrait lit with purple and blue studio lighting, keep the subject and pose constant while swapping the light ratio or background tone. An ai image generator produces distinct results from small prompt changes, and completed tasks appear in your generation history for preview and download. Inspect framing, subject detail, and visual consistency in each result before refining the input, and keep the draft that best matches your quality bar.
Adult portrait, three-quarter crop, purple key light from camera left and cool blue fill from the right, glossy skin, dark studio void, editorial album-cover finish, sharp eyes, no jewelry logos, no text.Open the text-to-image workbench and type your first visual brief.
Different projects ask for different visual languages. These scenarios show how an ai image generator supports campaign boards, lesson art, and look exploration when you write the brief with a clear output goal.
The stills below are existing site examples that show the range of subjects and compositions you can describe in a prompt. Use them as reference points when you write your own brief.
Illustrative references. Not verified VideoAny input/output pairs.
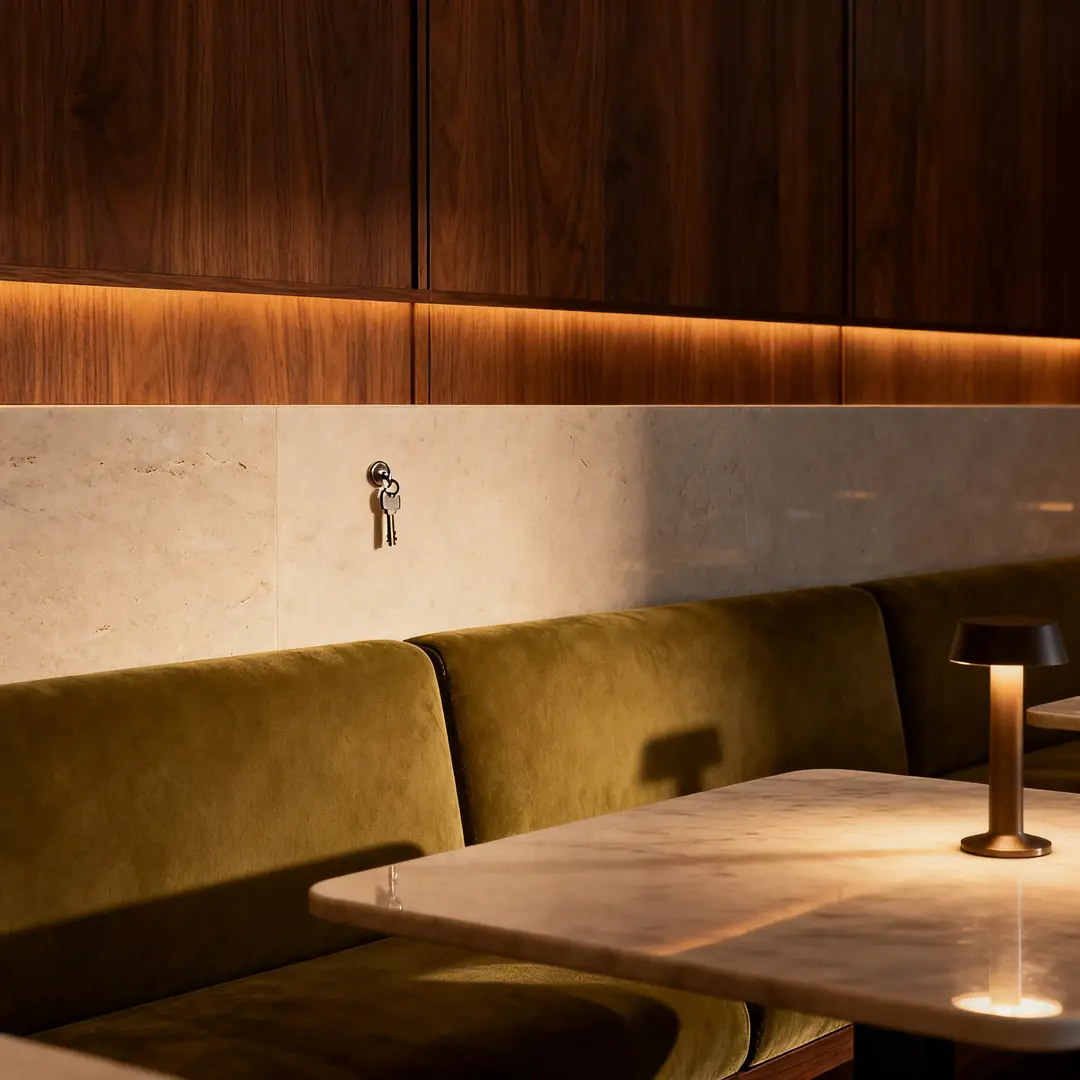
A boutique hotel lounge with warm lamps, sofas, and layered textures makes a strong hospitality key visual when the prompt names the material of each surface. Describe the sofa fabric, the lamp finish, and the way light falls across the seating area. An ai image generator assembles these details into a still that feels inviting and specific. Reference images and clips on this page are existing site examples, not proof of outputs from the selected model, but they show how a written brief can translate into a scene with depth and atmosphere.
Illustrative interior still for a written hospitality brief.

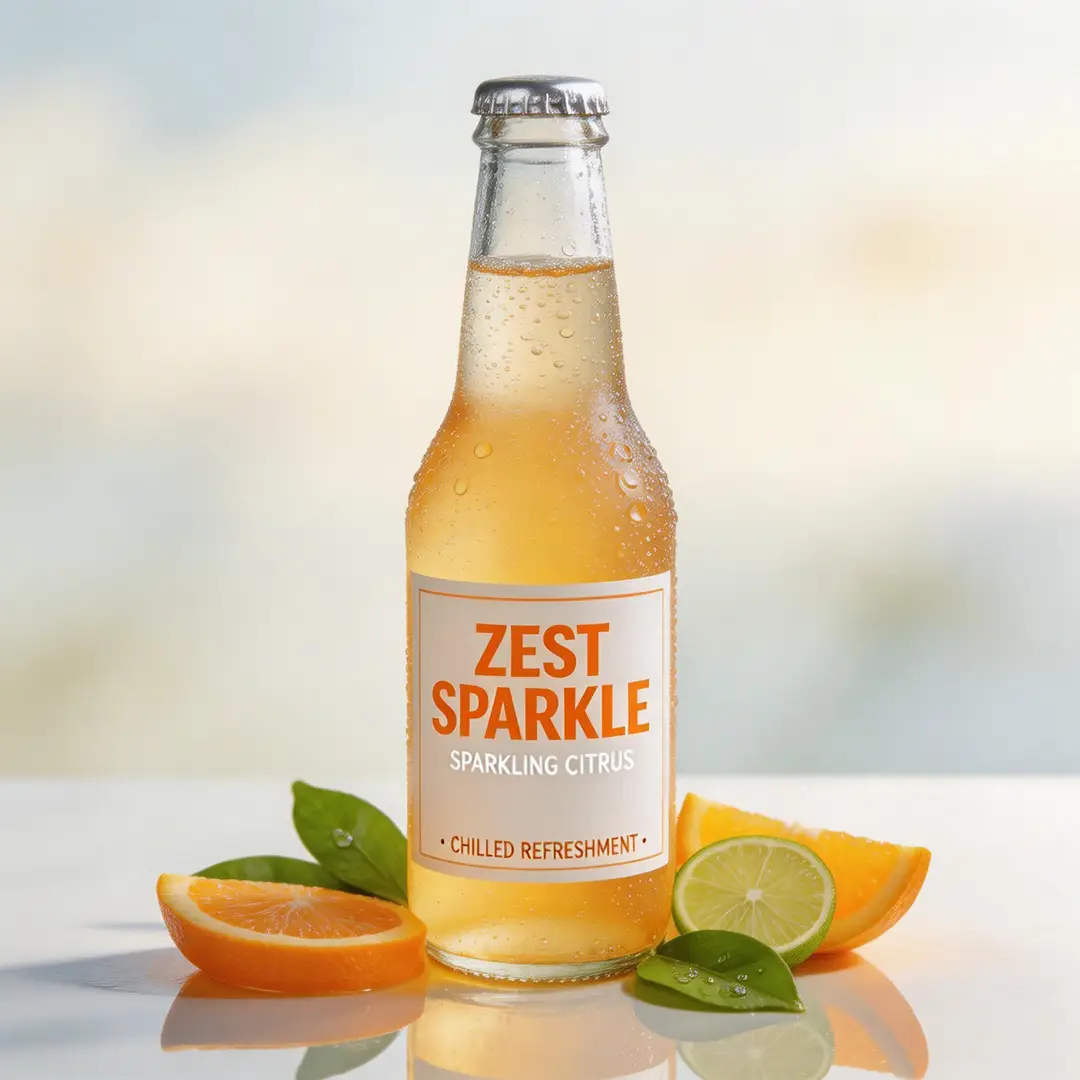
An iced coffee in a tall glass with condensation on a cafe table works as a social frame when the prompt captures the glass texture, the liquid level, and the background context. Write the drink color, the surface reflection, and whether the backdrop is a beach-like setting or a tiled wall. An ai image generator reads these cues and produces a still sized for a feed or a story. Adjust the aspect ratio to match the platform, then submit the task and review the result for product clarity and appetite appeal.
Illustrative beverage still for a social-ad brief written from scratch.
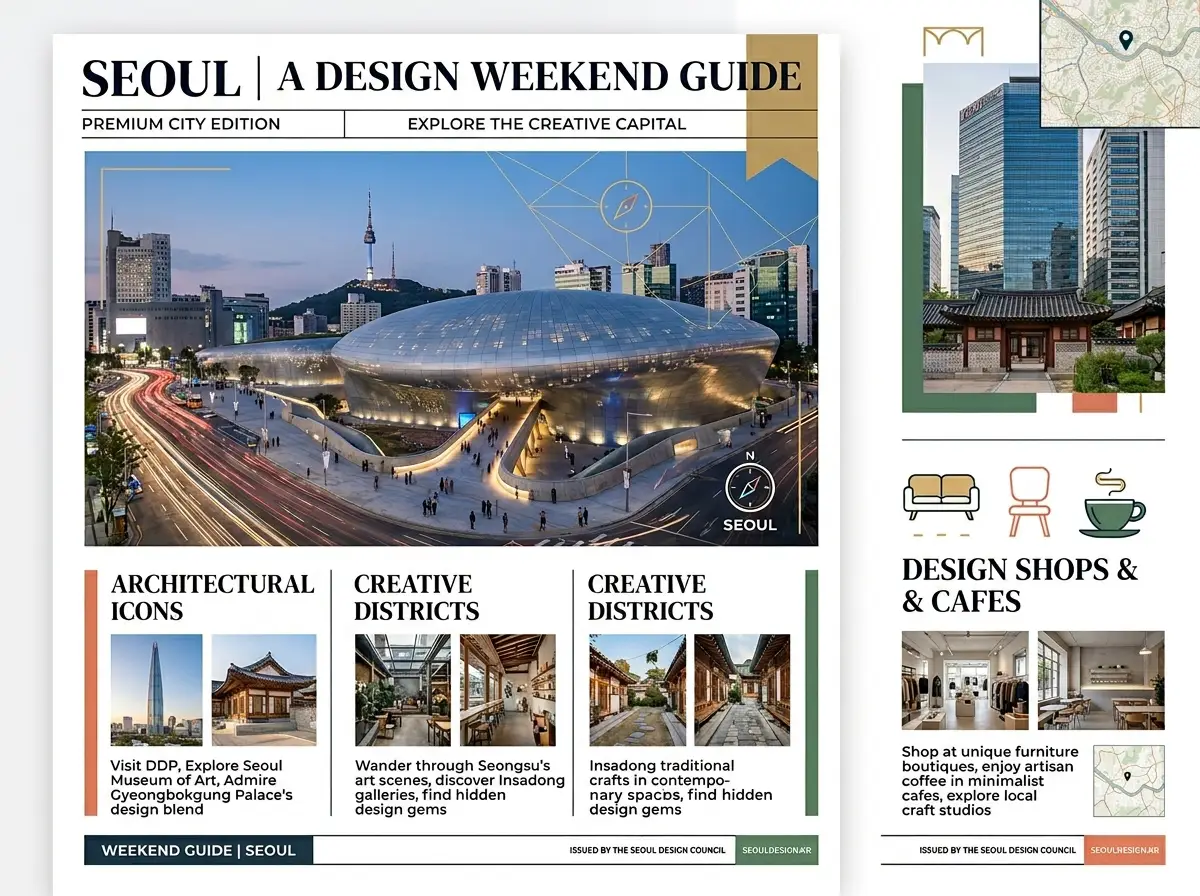
A travel poster layout of a coastal city overlook with open sky for type needs a prompt that reserves negative space for headlines and event copy. Describe the viewpoint, the time of day, and the architectural landmarks that anchor the composition. An ai image generator places the visual elements while leaving room for typography when you specify the open-sky area in your brief. This approach suits a Seoul Design Weekend Guide poster with collage, map, and typography, where the still becomes the foundation for a finished print or digital piece.
Illustrative poster still. Lettering in a generated frame should be reviewed.
Small changes in how you write a prompt can make a large difference in the still you receive. These tips help you get a readable result on the first or second attempt.
01
Lead with subject, setting, and finish in the first sentence of your prompt. Name the main object or person, the environment, and the dominant material or light quality before you add secondary details. An ai image generator weights early words more heavily, so placing the hero element first keeps the composition centered on your intent. For example, start with "silver headphones on pale stone" rather than "dark studio background with a product." This ordering helps the workbench build the scene around the subject instead of treating it as an afterthought.
02
Keep a series related by repeating the constants across every prompt in the set. If three stills share the same light temperature, background material, and camera distance, write those clauses identically each time and change only the subject or the prop. An ai image generator produces visually consistent results when the prompt structure stays stable. This technique works for product ranges, campaign frames, and lesson art where the layout must feel like part of one family. Save the constant clauses in a note and paste them into each new task.
03
Read the credit line before a retry so you know the cost of each refinement. Generation uses account credits, and the task cost is shown in the workbench before submission. An ai image generator may produce a draft that is close but needs a small adjustment, and checking the credit line helps you decide whether to edit the prompt or accept the current result. Completed tasks appear in your generation history for preview and download, so you can always return to an earlier version if the retry does not improve the output.
Creator workflow notes
Working habits for a written still, not user reviews
These notes describe common ways to run a written brief. They are not user reviews, ratings, or promises about a specific result.
Campaign board pass
Concept workflow
Write talent, location, and product in three sentences. Generate two competing crops. Keep the frame that already holds the idea, then change only light or wardrobe.
Lesson illustration pass
Education workflow
Quote the source paragraph beside the prompt. Name the object that carries the idea. Reject any still that adds props the paragraph does not mention.
Catalog look pass
Product workflow
Lock silhouette, material, and surface first. Explore lifestyle context only after a clean pack shot exists. Stop when the object is readable, not when the mood feels expensive.
These answers cover what to include in a written brief, how to steer the next still, and where to find credit and task information in the workbench.
A written brief for an ai image generator should name the subject, the setting, the key light source, and the dominant materials. Include the camera distance or angle if the composition matters for your use case, and mention any negative space you want to preserve for type or graphics. The text-to-image workflow starts from a written description of the subject, scene, lighting, and composition, so the more concrete your nouns and spatial cues, the more accurately the workbench can place each element. Avoid abstract adjectives without a physical referent, and write in full sentences rather than keyword lists.
The first prompt should name the subject, setting, light direction, and one dominant material in three complete sentences. An ai image generator uses early words to anchor the composition, so place the hero element first and add supporting details afterward. You can always refine the brief after reviewing the initial draft in your generation history.
Yes. The text-to-image workflow starts from a written description, so you do not need a reference photo to begin. Describe the subject, scene, lighting, and composition in your prompt, and the ai image generator will produce a still based on your words alone. You can upload a reference later if you want to rewrite an existing image.
Steer the next still by changing one clause in your prompt and keeping the rest constant. An ai image generator responds to small adjustments in subject placement, light ratio, or background tone, so isolate the variable you want to test. Compare the new draft with the previous one in your generation history, and inspect framing, subject detail, and visual consistency before deciding which version to keep. If the still ignored part of your description, move that detail earlier in the prompt or use a more specific noun.
An ai image generator may deprioritize details that appear late in a long prompt or that conflict with stronger visual cues. Move the ignored element to the first sentence, use a concrete noun instead of an abstract term, and remove any contradictory instructions. Run the revised brief and compare the output to the earlier draft.
Repeat the same light, background, and camera-distance clauses in every prompt, and change only the subject or prop. An ai image generator produces visually consistent results when the prompt structure stays stable across a set. Save the constant text and paste it into each new task to maintain a unified look.
Submitting a generation task requires an authenticated account, and generation uses account credits with the task cost shown in the workbench before submission. An ai image generator displays the credit line next to the submit button, so you always see the cost before you commit. After you have a still you want to keep, download it from your generation history and move it into your project file. If you plan a larger batch, check your remaining capacity first and set a credit budget for exploration versus delivery.
The task cost is shown in the workbench before submission, next to the model and resolution controls. Generation uses account credits, and the cost updates as you adjust settings. Review the credit line before every run so you know the investment for each still.
Download the still from your generation history and save it to your project folder. Completed tasks appear in your generation history for preview and download, so you can return to earlier versions if needed. From there, you can rewrite the still from the file, turn it into a motion test, or move on to the next brief.
Follow these three steps to move from a blank prompt field to a set of drafts you can compare and refine. Each step uses the controls available in the VideoAny text-to-image workbench.
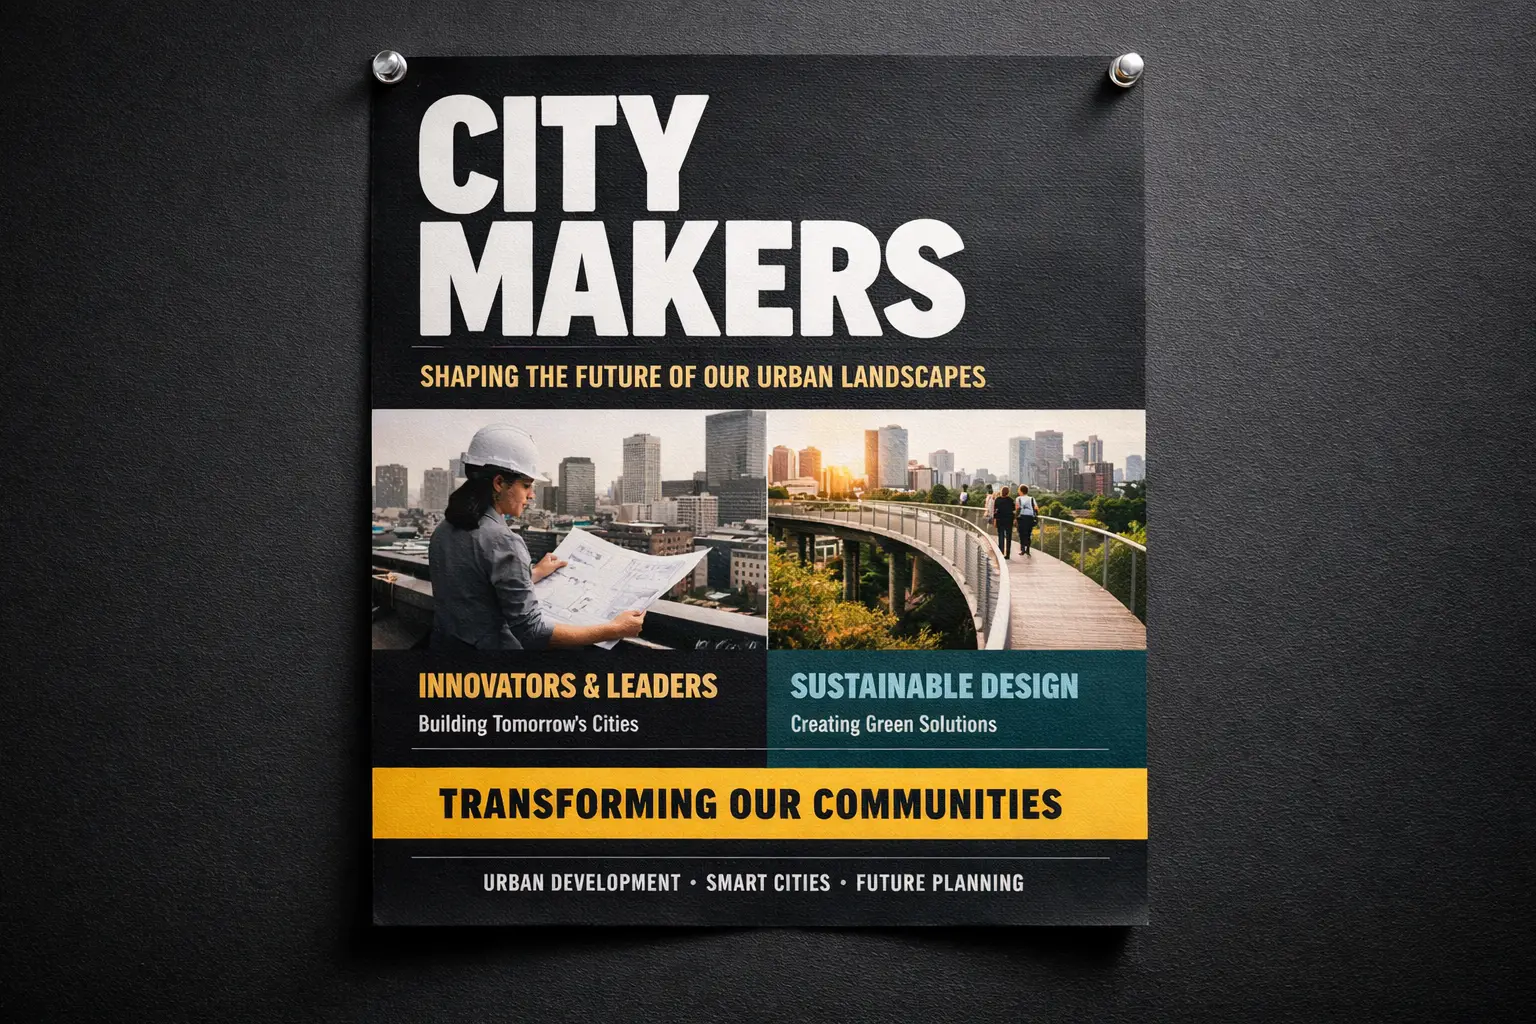
Type the still as production notes by writing three sentences that cover the subject, the setting, and the finish. For a CITYMAKERS urban poster with city and construction images, describe the skyline, the graphic style, and where the title text should sit. An ai image generator reads this as a layout brief and builds the composition around your words. Avoid single-word prompts or vague mood terms; instead, write the way you would brief a designer, with concrete nouns and spatial relationships. This first draft is your baseline for comparison.
Choose the model, aspect ratio, and resolution from the workbench controls, then read the cost line before you submit. Seedream 5 Pro is the selected image model for this page, and the ratio should match your output destination. An ai image generator displays the credit cost next to the submit button, and the value updates as you change settings. Confirm that the model, ratio, and resolution all align with your brief, check the credit line, and submit the task. The result will appear in your generation history within a short time.
Compare drafts and rewrite one clause to steer the next still toward your quality bar. Open two or three completed tasks from your generation history and inspect framing, subject detail, and visual consistency side by side. An ai image generator produces distinct results from small prompt changes, so pick the draft that is closest to your goal, identify the one element that needs adjustment, and edit only that clause in the prompt. Submit the revised brief and compare the new output to the previous best draft before you decide which version to keep.
Before you close the page, set yourself up for a productive session by preparing your input, your credit budget, and your acceptance criteria.
Lock subject, setting, and finish in three sentences before you open the workbench. Write the hero element, the environment, and the dominant material or light quality in a note, and keep the sentences short and concrete. An ai image generator responds best to a brief that is specific and ordered, so this preparation saves you from typing and retyping in the prompt field. When you sit down to generate, paste the three sentences, confirm the model and ratio, and submit your first task with a clear baseline.
Set a credit budget for exploration versus delivery by deciding how many tasks you will spend on concept drafts and how many on final stills. Generation uses account credits, and the task cost is shown in the workbench before submission, so you can plan your session around a fixed number of runs. An ai image generator lets you explore variations quickly, but a budget keeps the session focused. Allocate a few tasks to broad exploration, then switch to refining the best draft with targeted prompt edits.
Define the quality bar you will actually accept by listing the three things the still must get right for your use case. It could be subject clarity, background separation, or material texture. An ai image generator can produce many variations, and without a clear bar you may keep generating past the point of useful improvement. Write your three criteria in a note, review each draft against them, and stop when a still meets all three. Completed tasks stay in your generation history, so you can always return to an earlier version if needed.
Joi AI SI
Open the text-to-image workbench and type your first visual brief.
Before you close the page, set yourself up for a productive session by preparing your input, your credit budget, and your acceptance criteria.